

When it comes to success in gardening, the most important thing you can do is practicing good technique when it comes to planting. Going the extra mile at the beginning will help ensure your plants can stand up to all the challenges that face Atlanta gardens. It is crucial to take the time to do it right, and set your plant up for a long and healthy life!
Right plant, right place
Knowing the exact conditions of your planting spot is crucial. It cannot be stressed enough that plant selection should be determined by the conditions of your planting spot, not by your desire to grow a particular plant. Nothing is more frustrating than struggling to help a plant survive in a place it’s just not happy living. By choosing a plant best suited to the light and moisture conditions, you will alleviate stress down the road - for you and your plant!
Summer is the time when you really want to focus on the light conditions in your garden. Knowing how much direct light the spot gets during the hot, dry months of late summer is critical when it comes to plant selection. You want to make sure the plant you choose is going to be able to withstand the conditions in that spot, especially during the harshest time of year.

digging the hole
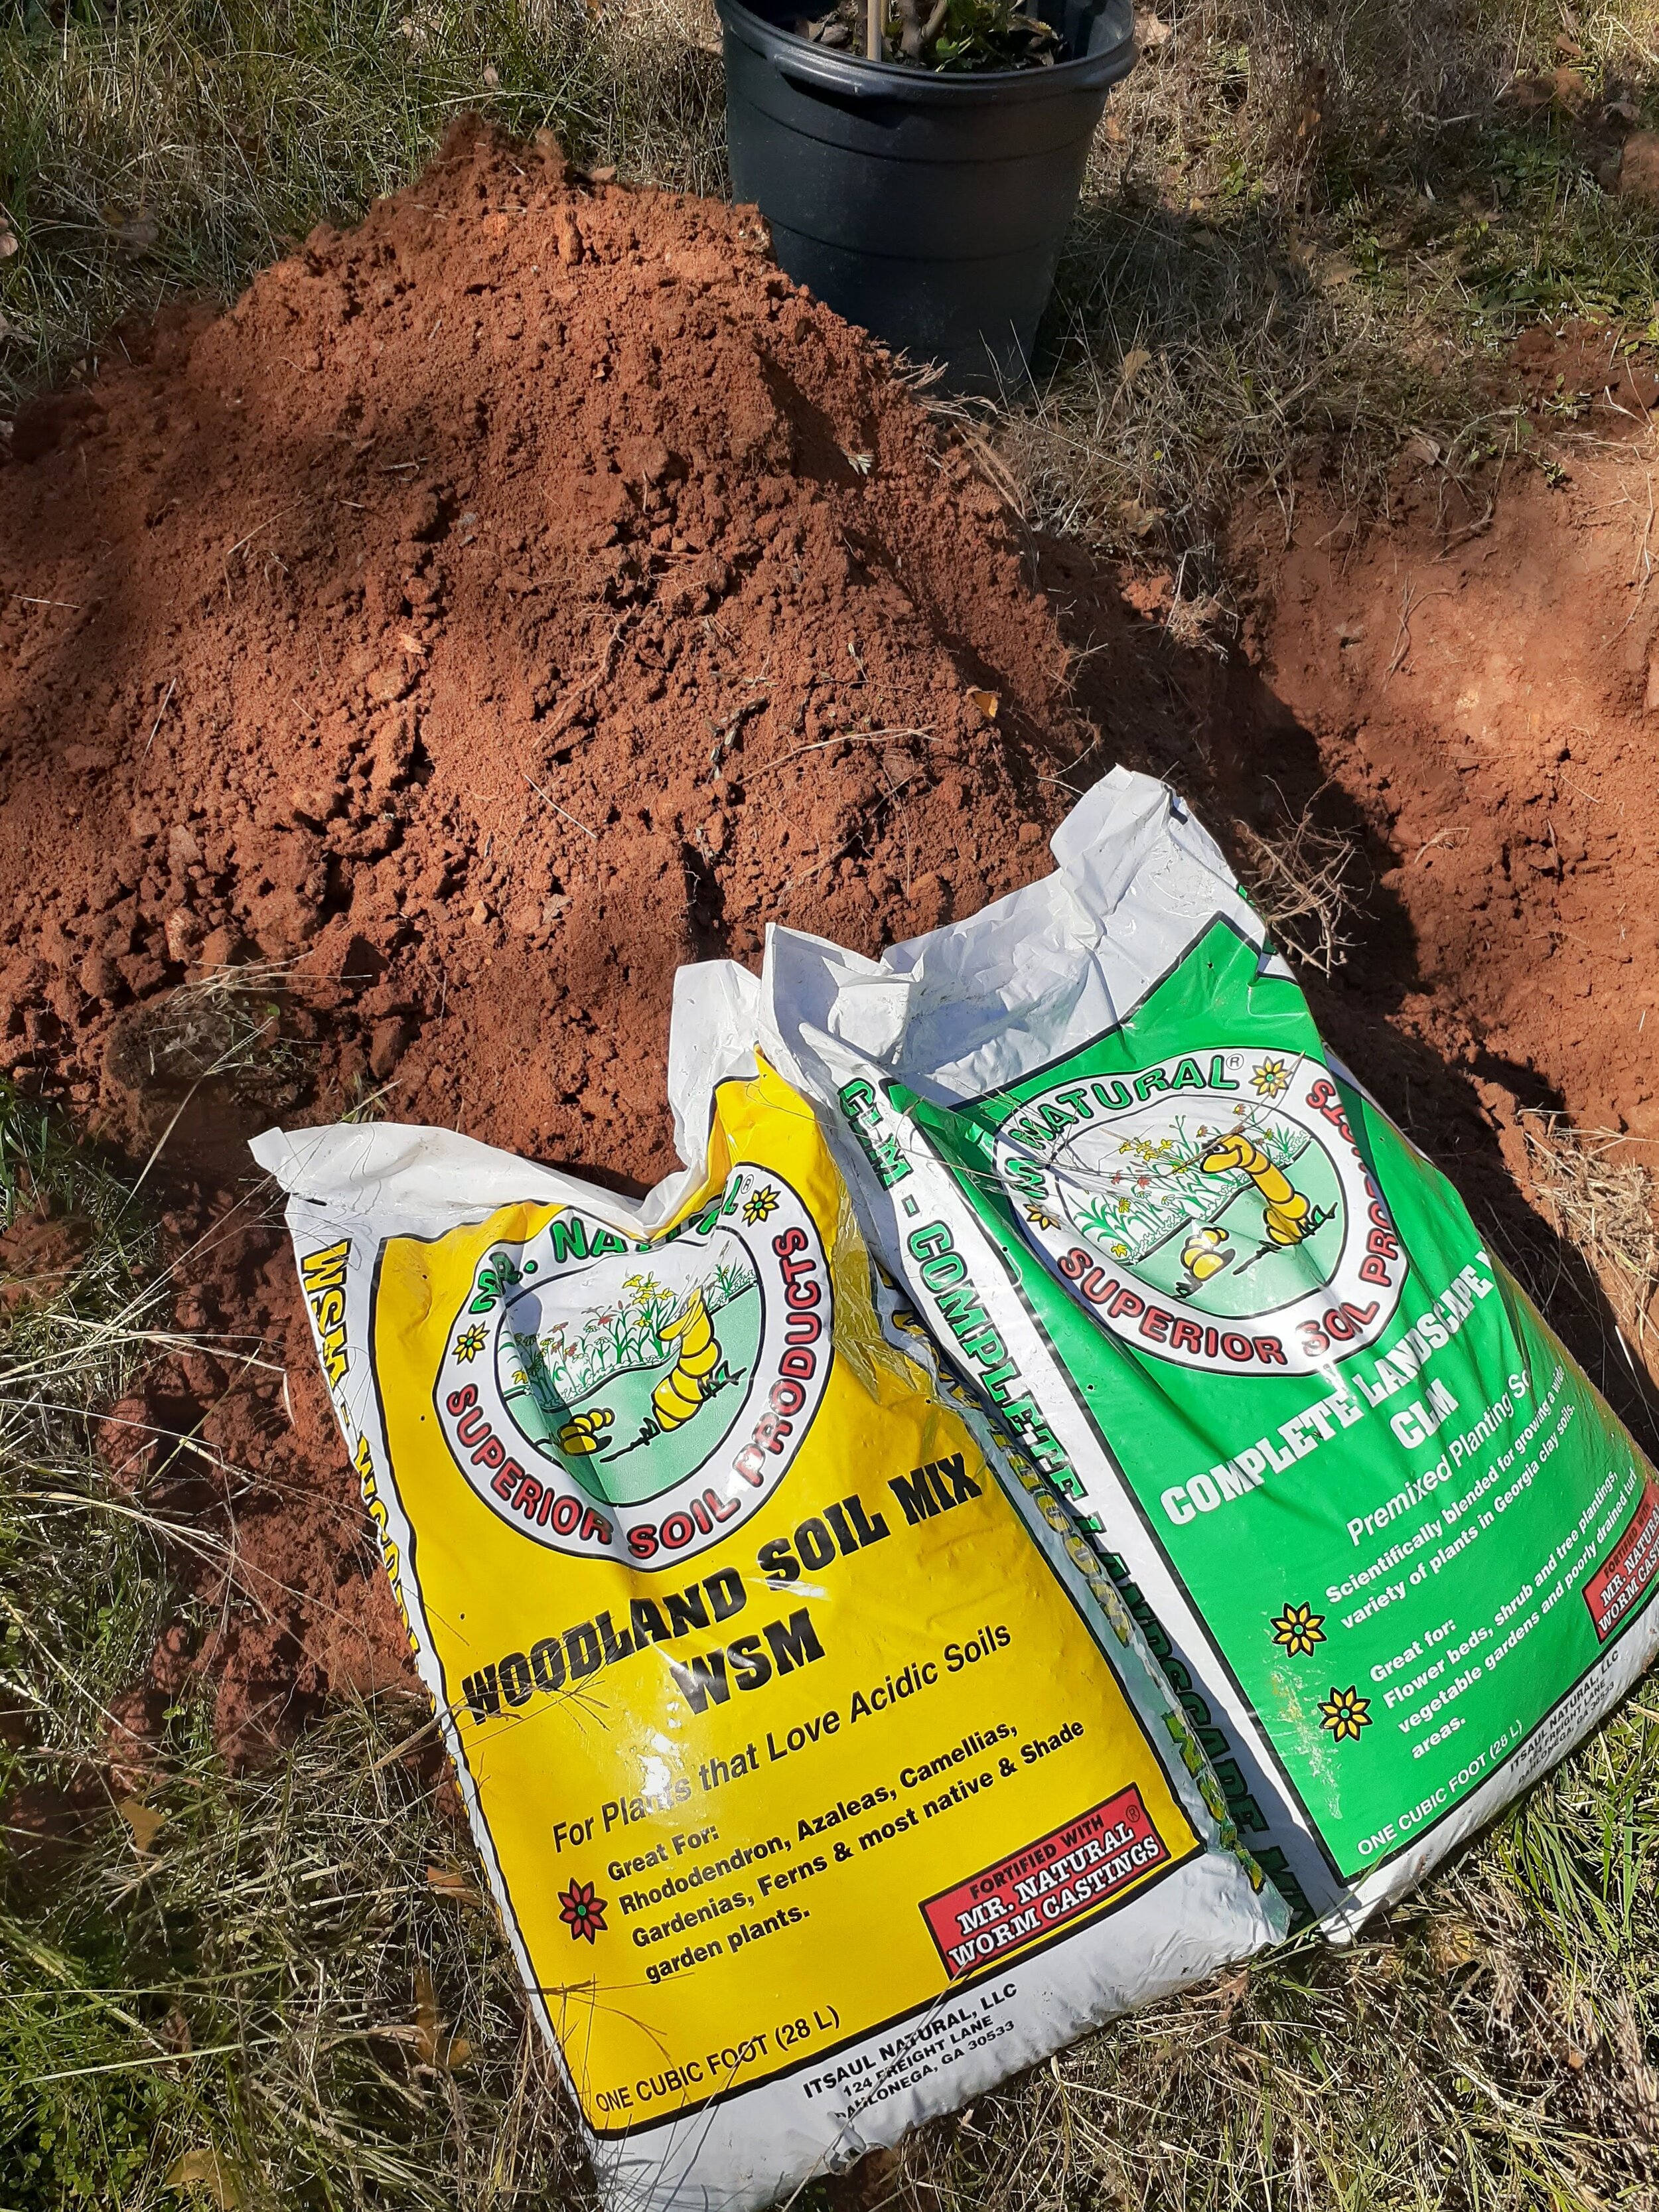
It’s no secret that digging into the Georgia clay can be particularly difficult, especially during the dry season. Despite this fact, it is important to give your plant’s new roots some soft soil to push into. Your hole needs to be AT LEAST twice as wide as the root ball. A hole that is too small can lead to problems down the road including stunted growth and inability to hold water. The depth of your hole needs to be slightly deeper than the pot / root ball. For perennials, this might be an inch or two, for larger plants, dig about 6”-8” deeper than the pot.
If you are having trouble breaking through, consider using something like garden gypsum to soften the clay. Gypsum can be purchased at your local nursery and needs to be applied at least a month in advance to really help.
If you are struggling to dig a hole because the ground is too hard & dry, it’s safe to assume this is not the ideal time to plant. Just be aware that if you decide to move forward with your planting, you will need to pay special attention to watering once your plant is in the ground. (Read on for more information on watering!)
Amend your soil
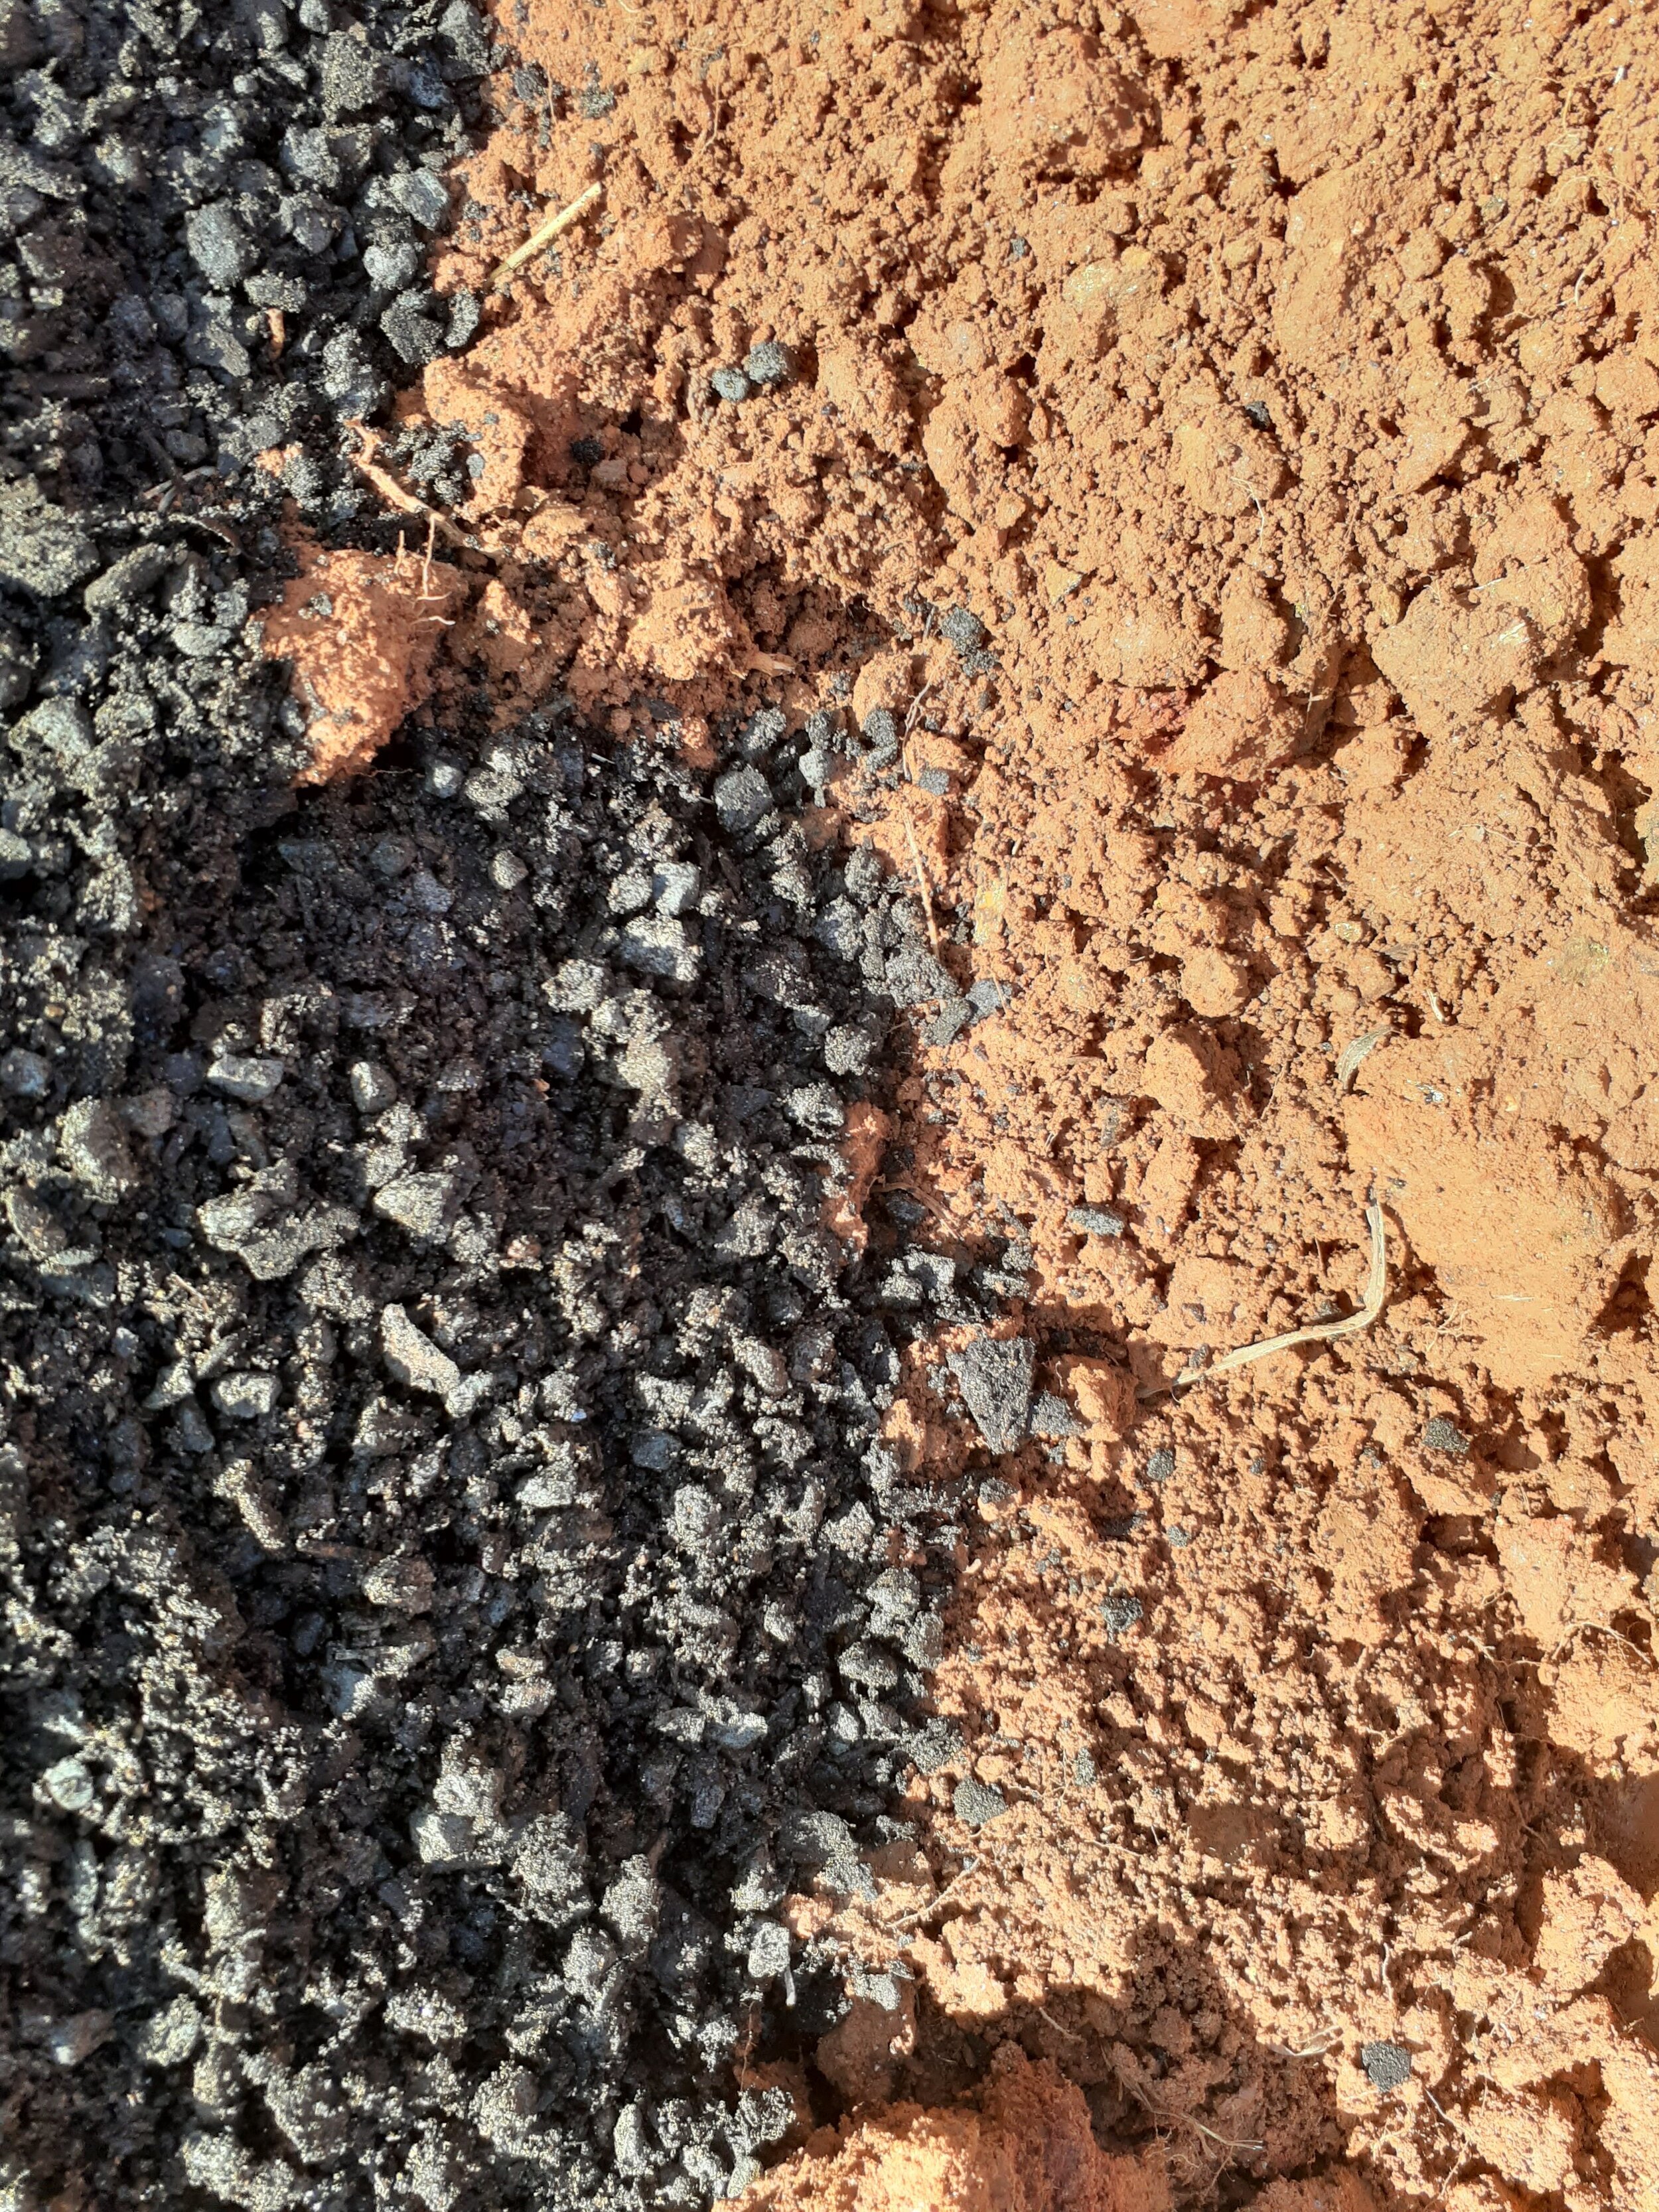
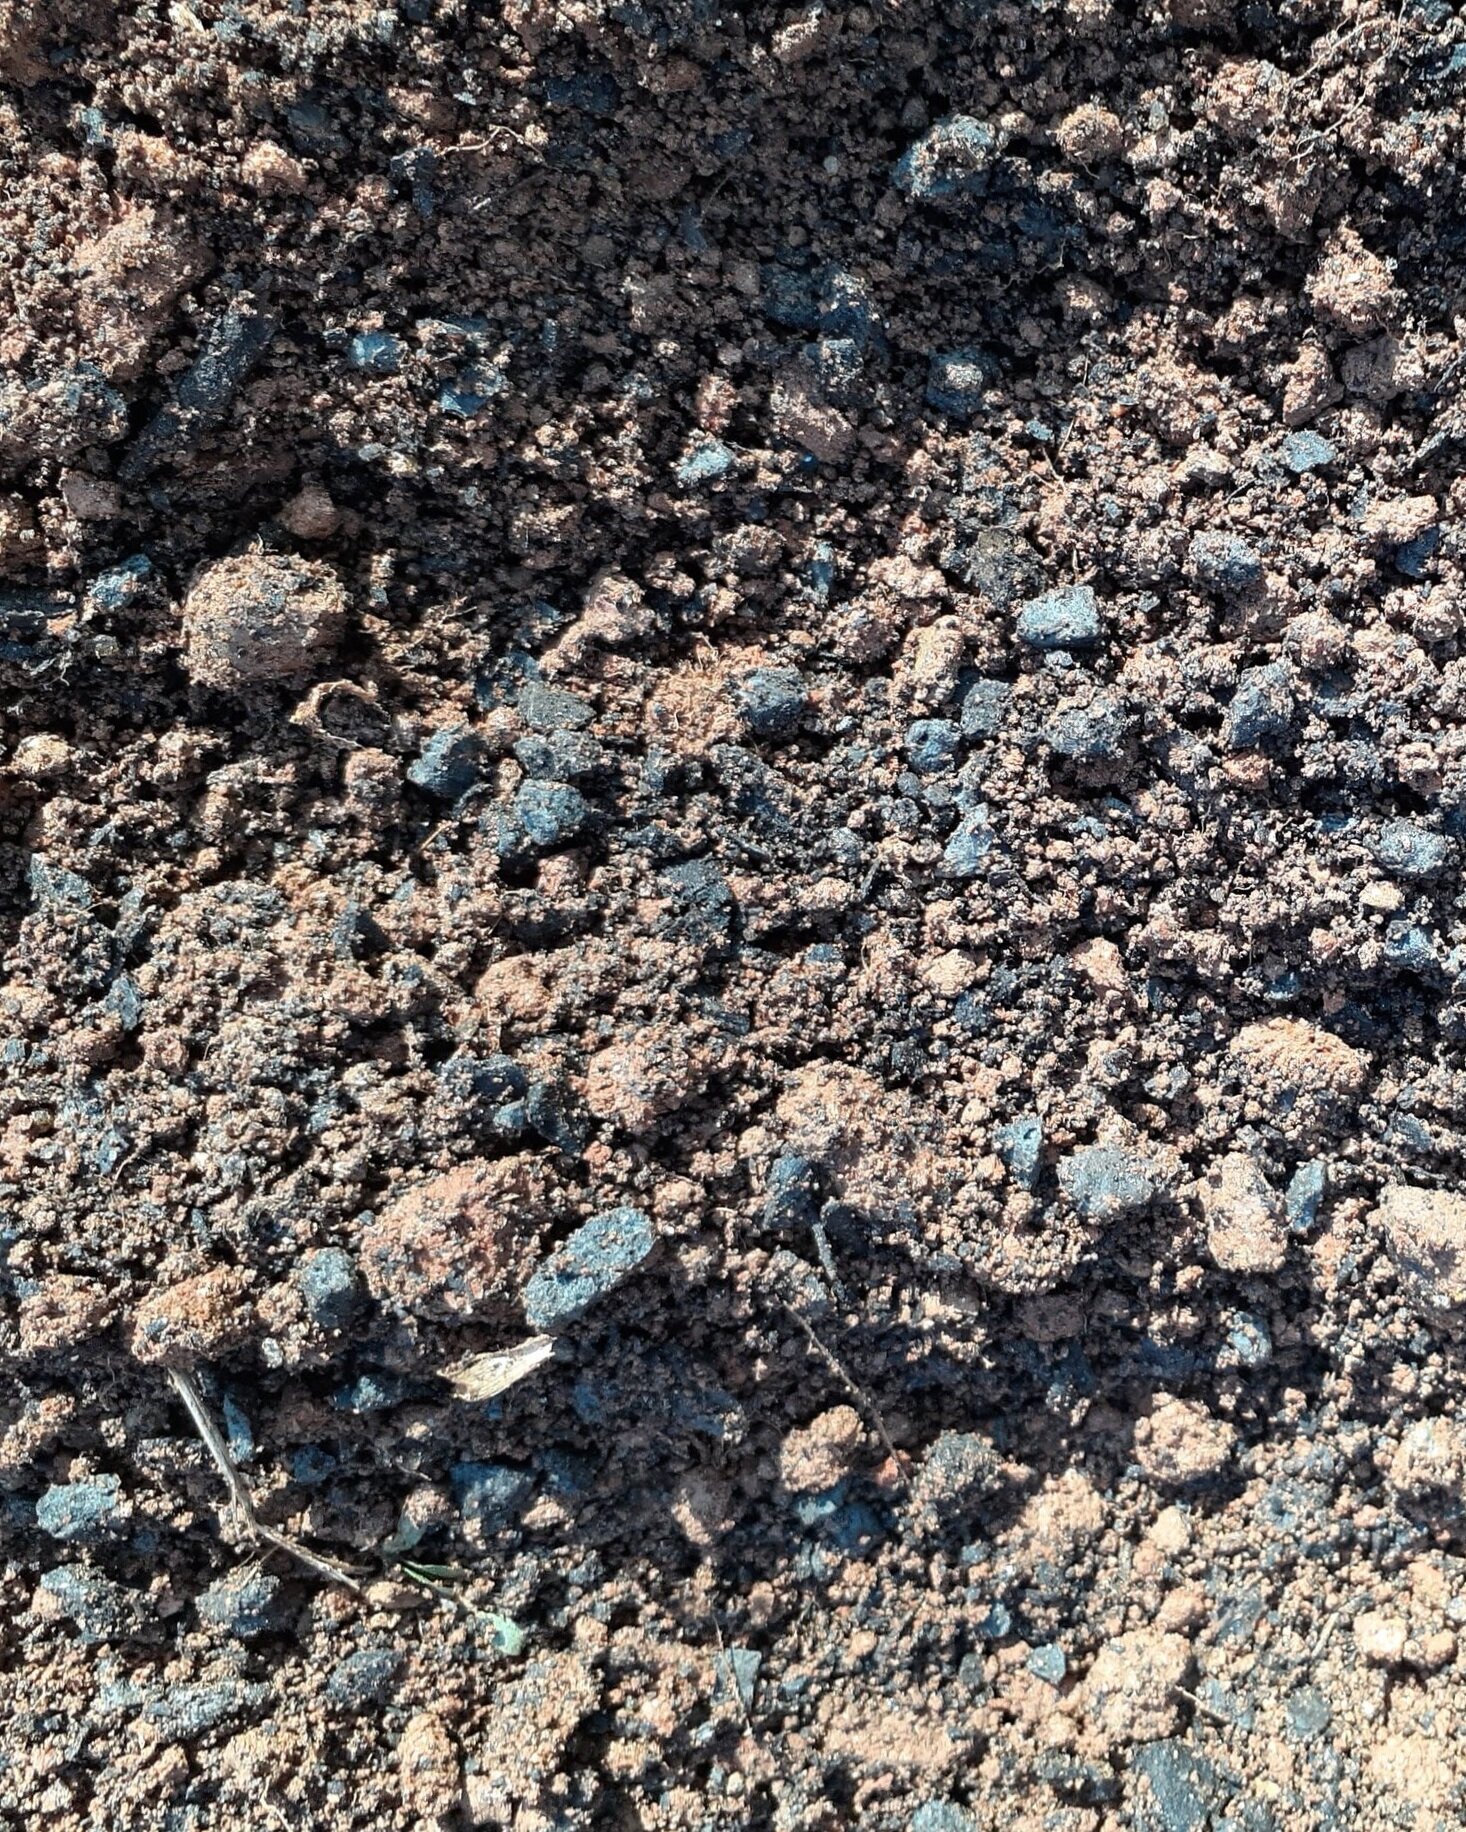
It’s a solid bet that your soil will be mostly clay. Though it’s not the most ideal planting medium, clay is generally high in nutrients once it’s broken up. The challenge with clay is that it is prone to re-compacting, so adding elements to the loosened soil will help with this problem.
Adding organic material 50-50 with the native soil will help break up that clay, as well as helping with moisture retention. Pre-mixed bags of amender can be purchased at any garden center and will contain a mix of soil conditioner, organic fertilizers such as worm castings or mushroom compost, and rocks or sand to aid with drainage. You can also use compost from your home system, just make sure you are mixing it evenly with the native soil from your planting spot. It’s most important that whatever you add, you are mixing 50-50 with the native soil. The idea here is to improve the soil, not replace it!

Plant on a mound
An ideal planting will be slightly mounded above the soil level. Back fill some of your amended soil into the hole so the crown of the plant sits about 2” above the ground level. Use ALL of your amended soil to fill in around your plant. Make sure you firmly press the soil into place, but take care not to compact your planting mix.
This method helps by allowing the water to drain down to the edge of root ball where moisture retention is most crucial. Also, as the plant settles, it will settle level with the ground level instead of below it, which can cause long-term problems with water collecting at the crown of the plant. Over time, a plant that collects too much water at the crown will be more susceptible to rotting and disease.
loosen the roots
Turn the pot on its side and gently remove the pot from the root ball. In some cases, the plant might be root-bound and it will be necessary to cut the pot off. It’s important that you remove the pot from the plant and not the other way around! Once the plant is out of it’s pot, gently massage the root ball to loosen up the roots. If the root ball is too compacted to break up, use a knife to score the outside of the root ball to help. You are not harming the plant by doing this, quite the opposite, this will promote the new growth at the edge of the root ball to grow out, instead of around in it’s circle shape. If it is necessary to remove any of the roots, just make sure not to take off any more than 1/3 of the root ball.

Post-Planting Care
Though good planting techniques are paramount to the long-term success of your plant, your work isn’t finished! In general, it takes a full year for plants to become fully established in the ground. Within that first year, you will need to make sure you are doing everything possible to help it through.
Water
mulch
Mulching is a great practice for both your new plantings and established plants alike.
Mulch selection can depend on several factors from grading to aesthetics, but the benefits are the same. *Pine straw is a great option for slopes, as it won’t float away during a heavy rain.* Placing mulch around your garden will help with regulating soil moisture and temperature throughout the year.
When spreading mulch, be careful not to spread it too deep. A layer of 2” is more than sufficient. Overly thick layers of mulch can be more harmful than beneficial for a couple reasons: Firstly, mulch that is too thick will hold too much moisture at the top of the soil and can cause your plant to develop a shallow root system that can negatively affect your plants down the road. Also, mulch that is laid too thick can retain a lot of mold, mildew, insects, and disease that can be very difficult to get rid of.
It is also worth mentioning you should only use mulch around your plants that has had time to season. Fresh mulch from a recently removed tree will generate a lot of heat as it breaks down, which will in turn bake the roots of your plants. During the summer months when you plants are already experiencing the stress of the summer heat, this can be deadly. Unseasoned mulch can also leach valuable nutrients from the soil, robbing your plants of a food source.
fertilizer
As a general rule of thumb, fertilizing within the first year of planting is not advised for your perennials, shrubs, and trees. Concentrated fertilizers can be difficult for your plant’s young, tender roots to absorb, and can cause irreparable damage. If you must, only apply a mild, slow-release topdressing. Worm castings are ideal for this task, but if you planted with an amender, your plant should be good to go for the first year!
Developing good watering habits will be your second-most important duty when it comes to your new planting. Depending on the time of year you plant, it may be necessary to water anywhere from once a week to once a day.
Fall plantings are ideal because the temperatures drop and the rains can set back in, allowing you to work with Mother Nature to keep your plant watered. This does not mean you are completely off the hook when it comes to watering, but it does help when we have more frequent showers to keep the ground moist.
Spring plantings will require more frequent care since they are backing up to the most stressful time of the year. It is almost assured we will experience a period of drought during the late months of summer. Many a spring planting has been lost to the dog days of summer. During these months, it is common to find that there is almost zero residual moisture in the surrounding soil, so frequent deep soakings are required until temperatures come down and the rains set in.
The best way to determine when your plants need water will be to physically test the soil. Stick your finger in the ground about two inches and gauge the moisture. If the soil feels dry, go ahead and water. If the soil feels wet, you are safe to wait another day. If the moisture is somewhere between, use your best judgement based on the weather forecast for the day (if it’s summer, go ahead and water!).
Best practice is to water first thing in the morning. Watering before 9 am will allow for the water to saturate down into the soil before the sun comes up and evaporates the top layer. Morning watering will ensure your plant has the adequate moisture it needs to make it through it’s daily cycle of photosynthesis and transpiration.
Any time you water, you want to make sure you are fully saturating the surrounding soil, then allowing time for the plant to absorb the water. During spring, this might mean soaking 2-3 times per week to help maintain an even soil moisture.
It’s also worth noting that over-watering can be a serious problem in the cool months leading up to summer. If you are testing your soil before watering, this shouldn’t be an issue, just know that plants won’t absorb water as quickly during cooler months with shorter days, so be sure you are allowing adequate time for you plant to drink the water you are giving. Just remember - you can always add water, but you can’t take it away!
Once your plant has established, it should be able to stand up to most weather conditions. However, in the event of a prolonged drought, it might be necessary for you to supplement some water. Even well-established plants are susceptible to a drought!